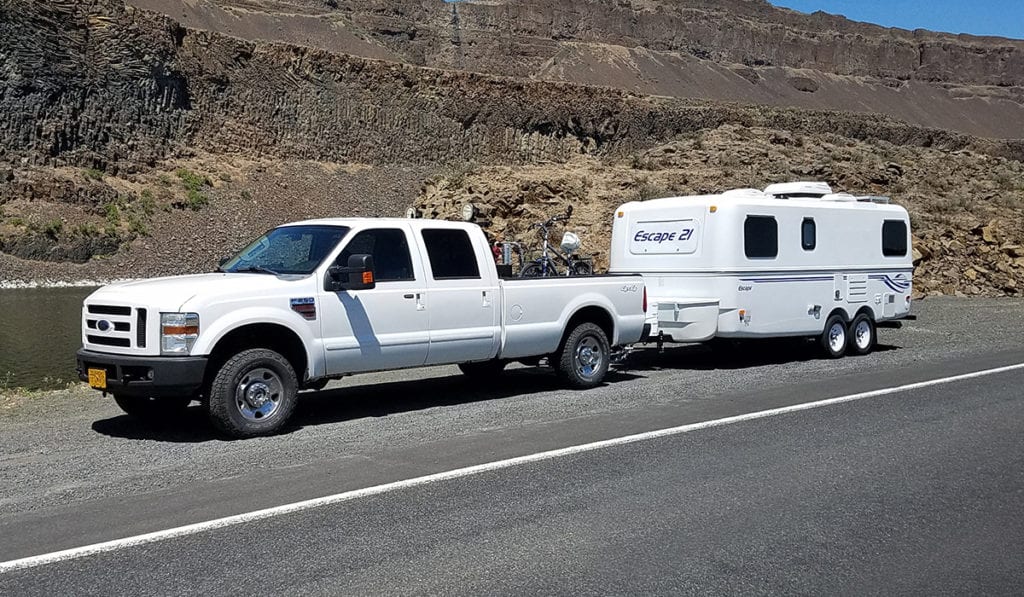
How to Safely Change a Tire on the Road
Into every camper’s life, a rain, or in this case–flat tires, must fall. But that shouldn’t cause you too much concern. Flat tires are not that difficult to change if you have prepared for them. With a little time and work, you will get back on the road and enjoy your RV or boondocking adventure.
Even if you have roadside assistance, you might not have cell service, so prepare before you leave home and know that you can change your own RV tire.
How to avoid getting a flat tire
Avoiding a flat tire is better than needing to fix one roadside. Tires age, sometimes with no visible signs, so change trailer tires after five years and RV tires after seven.
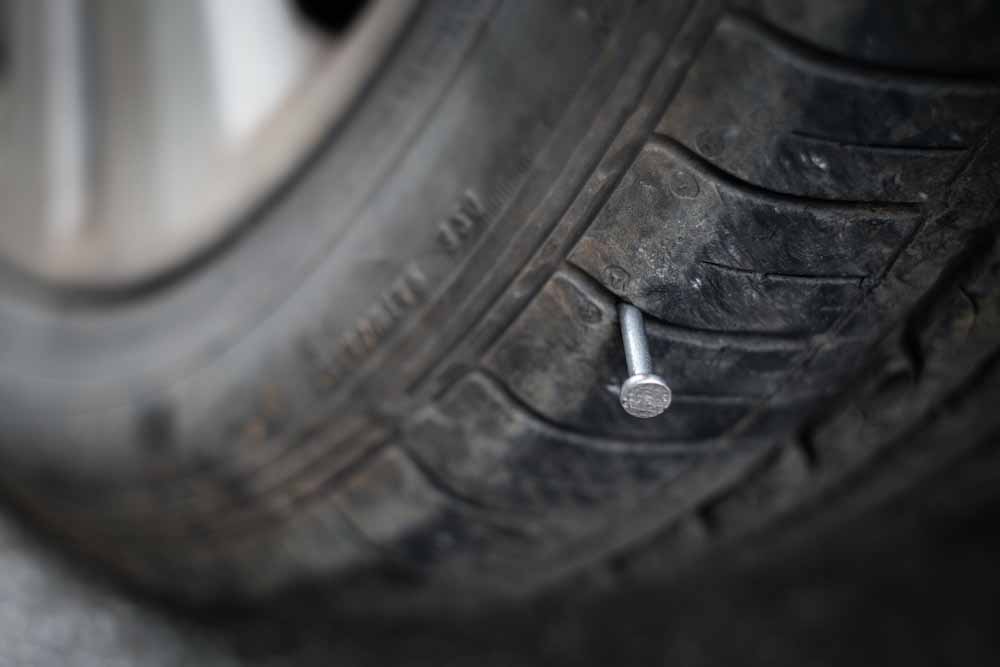
Check the condition of your tires before you leave. Do you have enough tread (check the wear bars on the tire) and do you have any foreign objects stuck in your tires. During your trip, periodically check for screws, nails, etc. in the tread.
Don’t overload your RV and don’t drive too fast, and don’t drive on under-inflated tires–all of these can damage your tires and cause a blowout.
And do not drive on a low tire unless you have absolutely no other options. It is unsafe and will destroy the tire. If that is necessary, drive as slowly as you can for the road conditions. (Learn more about how to avoid a tire blowout on your RV).
Quick fixes to consider before installing a spare
Sometimes, if a tire is low a quick fix can get you to a safer area without the need to put on the spare. These are only temporary fixes, but they can save you from changing the tire in unsafe conditions or during bad weather.
Keep the following in your RV or tow vehicle:
- Tire pressure gauge
- 12-volt air compressor
- Fix-a-flat
- Tire plug kit, with a pair of pliers
- Jack
- Jack stands
Dealing with low air in your tire
Before setting out
Your air compressor will come with a long cord and will plug into your cigarette lighter. Check to make sure that the cord will go from your cigarette lighter to the tires. If it is too short, you might be able to use the battery in your RV or you can buy extra wire and large alligator clips so that you can get power from your tow vehicle’s battery.
If you notice one of your tires is getting low on the road
For low air without a nail or object
If a tire is low, simply use the compressor to fill it to the recommended pressure. You should check to make sure that there are no foreign objects in the tread.
A can of fix-a-flat is inexpensive and can temporarily fix small holes in the tread (there’s no way to fix a hole in your sidewall, though). To use your fix-a-flat:
- Open the can.
- Shake it.
- Then connect it to the tire valve.
- Watch as it inflates. You will likely use the entire can.
With large tires, you might need to also add air, so check the tire pressure when you are done. As you drive away, centrifugal force will push the sealant against the wall of the tire, and the air pressure inside will force it into the hole, sealing it.
Get the tire checked by a professional as soon as possible. It might be just a rim leak that can be easily fixed, but there might be a puncture that needs to be patched.
For a screw, nail, or other puncturing object
If you have a screw or a nail in your tread, you might want to plug the tire. This may sound difficult, but it is pretty simple. All you have to do is:
- Jack up your RV just enough so you can rotate the flat tire. You have jack stands–use them. They can save you a trip to the emergency room.
- Rotate the tire. Never put a hand or foot beneath it.
- Inspect the tire closely for a foreign object. If you’ve driven a bit on a nail or screw, the head might have been ground away, making it difficult to find. However, nails and screws are usually easy to find since they reflect light.
- Once you locate it, but before you pull out the object, prepare your plug. Insert one of the plugs into the insertion tool–the T-shaped ones are the easiest to use and have the rasp ready.
- Insert the middle of the plug into the hook in the insertion tool, then use the pliers to remove the screw or nail. It will hiss as the air escapes–that’s normal–don’t let it worry you.
- Shove the rasp in and out of the hole several times to clean out any torn bits of rubber, then push the plug into the hole. It might be hard initially, but keep pushing until it goes in. Push it in about halfway–you just want it in far enough that it has passed through the wall of the tire. It doesn’t hurt anything to have some of the plug left on the outside of the tread.
- Your tire is plugged! Now you just have to fill it with air.
None of these options are permanent solutions to flat tires, but with any luck, you will be able to safely drive to a tire shop that can finish the job for you.
Instructions for changing a flat tire roadside
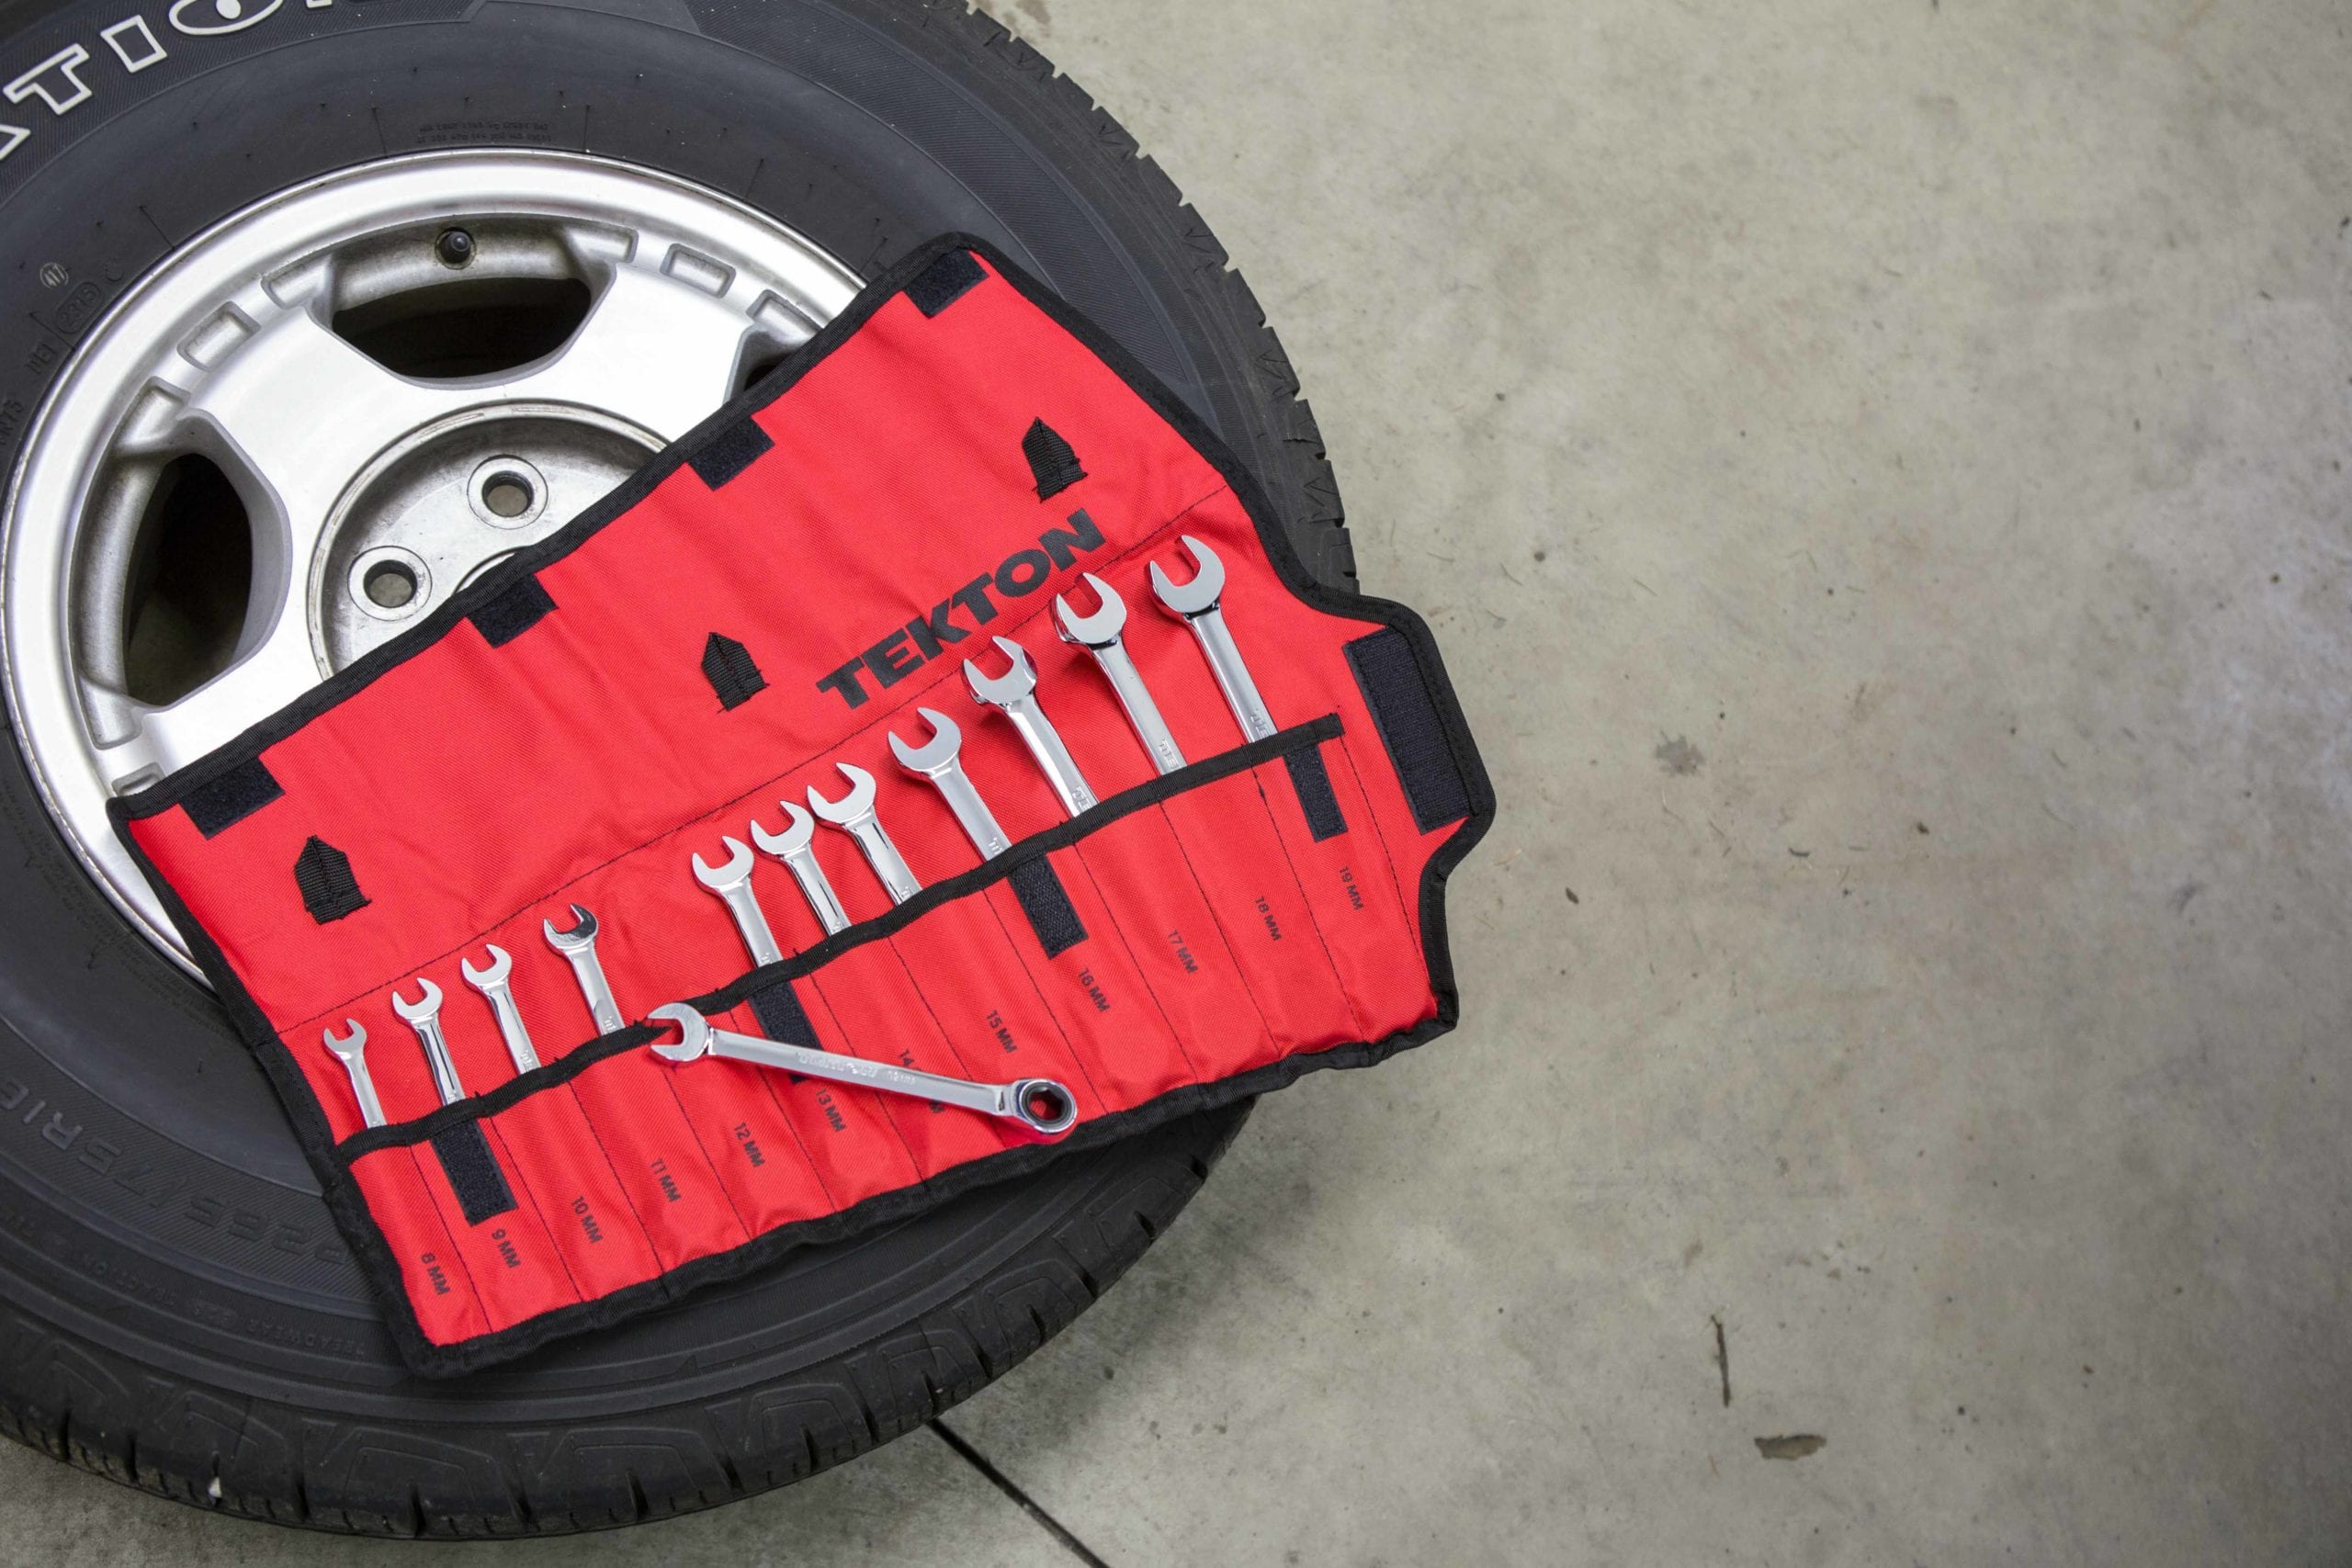
Just wanting to change your tire yourself won’t do any good if you don’t have everything that you need, so before you leave home, have the following:
- A spare tire that fits your RV
- Jack rated for the weight that will raise the RV high enough to lift the tires off the ground or a ramp if you have tandem axles
- Jack stands to keep the RV safely raised
- Spare pieces of wood: 3-feet lengths of 2” x 10” to put under your jacks if the ground is soft
- 2 to 4 wheel chocks to keep the trailer from rolling
- A lug wrench or breaker bar and socket that fits the lugs to tighten and loosen the lug nuts
- Grease for threads when you install the spare
- A safety cone or two
Hopefully, you will notice your tire going flat while you are stopped at a safe and convenient spot, but that is seldom the case. Often you find out you have a tire issue when a car passes you, with its occupants shouting, waving, and pointing at your travel trailer. If that happens, slow down and begin looking for a safe place to pull over.
What to look for when choosing a spot to pull over to change your tire:
The ground should be level and as far away from traffic as possible. Try to avoid pulling over into a blind curve. The more distance other drivers have to see you, the better.
Try to pull to the right shoulder instead of the center. Pull as far over as possible without risking not being able to pull out safely due to mud or soft soil (keep two tires on the asphalt). Do not pull into a ditch or a steep decline.
Steps for changing your tire
- Once pulled over, exit your RV or vehicle on the non-traffic side if you can or wait until there is no traffic coming. Tell the kids to remain in the vehicle. Place your safety cone at the back corner of your RV, closest to oncoming traffic.
- Inspect the tire for foreign objects and check the pressure. If you need to change the tire, gather the supplies listed above. Set them out near the tire to be replaced.
- Use the lug wrench or the breaker bar to loosen the lug nuts just a bit–if you do this after you jack the RV up, you might need to lower it to keep the wheel from spinning while you try to loosen the nuts.
- You can then either jack the RV up or if it has tandem axles, you can drive the other wheel up onto a tire ramp. If you are using a jack and the soil is soft, put the jack on the 2” x 10” to keep it from sinking as you jack the trailer up.
- Make sure that you set the tow vehicle’s parking brake, then chock the wheels on the opposite side of the trailer to keep the trailer from rolling while you work.
- The wheel should spin freely. If it doesn’t, continue to jack it up until the wheel easily spins. Then use the lug wrench to remove the lugs, one at a time. Put them someplace safe where they won’t get lost or dirty.
- Take the flat tire off and slide the new wheel into place. Spread a little grease or spray some oil on the threads so that they will be easier to remove next time. Put the lugs back onto the studs by hand, and hand-tighten them.
- Using the lug wrench, tighten them in a star pattern if there are 5 (1st, 3rd, 5th, 2nd, then 4th). This ensures that the wheel is centered and seated on the hub evenly. Tighten the tire as much as you can, considering that the tire will have a tendency to spin.
- Lower the RV by slow reversing off the ramp or lowering the jack. Then use the lug wrench or breaker bar to give the lug nuts a final tightening using the star pattern again, then do it one more time, just in case.
- Remove the chocks from the other side of the vehicle, and replace everything in your tow vehicle or RV.
With a final check of the tire pressure in all the RV and tow vehicle tires and cleaning your hands with some handy wet wipes, you will be good to go.
When you can, get the flat tire patched if possible at a tire shop or replace it with a tire rated for your RV. This will ensure you have a backup in case you wind up with another flat in the near future.
Don’t let a flat ruin your adventure
No one wants a flat, but things do happen, no matter how careful you are. Unfortunately, one of the side effects of going off the beaten path or setting out on the open road is the risk of a flat.
Don’t let a flat deflate your fun. Stock up the supplies you need for fixing a flat tire or replacing it with a spare. If you notice a tire that seems low, fix or replace it immediately. Always err on the side of safety when changing a tire roadside. Once you change your first tire, your self-sufficiency will fill your pride and confidence should another issue crop up.
When you are ready to tackle life’s little problems, like flat tires, you can relax a little more and enjoy your journey.
To receive our newsletter by e-mail, please click the “Subscribe” button in the footer below.